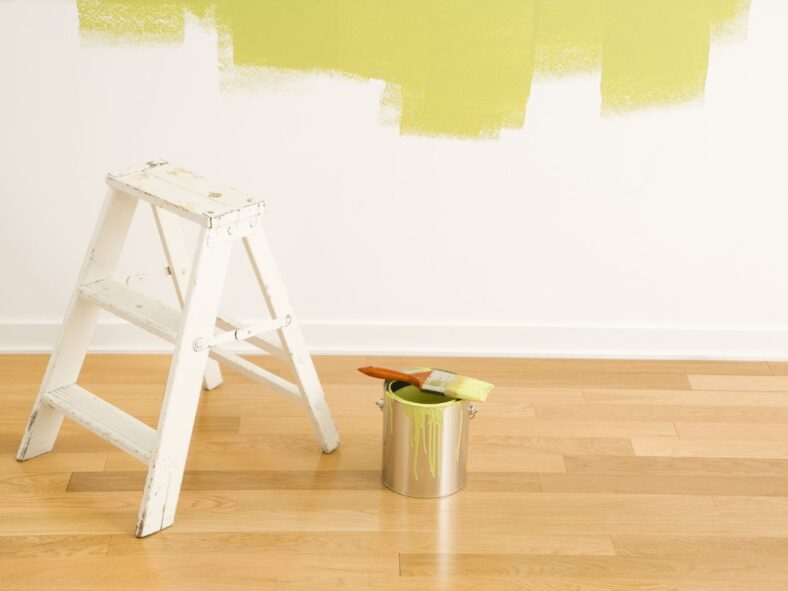
A few years back, I got a call from my daughter who had decided to paint an accent wall in her living room.
She had just moved into her first apartment after graduating from Fresno State. It was kind of an old place, but she was excited to be out in the “real world.”
With her father having been a professional painter for years, she was calling to ask for my advice… but we both knew she wasn’t going to take it (parents, you understand.) She was all excited about the color, a deep teal.
I warned her that she needed to prep the wall first, but instead of taking her time, she decided to just start painting. “It’ll be fine,” she said. “I just want to see the color on the walls!”
It was not fine.
When I went to her place a week later, she looked defeated. The teal had streaks where dust and grease hadn’t been cleaned off. Tiny nail holes from old picture frames were showing under the paint. And her favorite beige couch had teal splatters on one armrest because she had said she would just “be careful” and hadn’t covered it.
So she had to start all over. Clean the walls, patch the holes, sand down rough spots, and tape the trim. Not to mention, she had to pay to get her couch professionally cleaned. It would have been a quick project, but it turned into an expensive ordeal that dragged on forever.
The moral of the story here? Prep work may not be fun, but it’s a necessary evil. A little extra time upfront saves you from a ton of frustration in the end. If you want a professional-looking paint job, you’ve got to prep.
Alright, storytime is over. Now I’m going to tell you exactly how to prep your space before you paint in order to end up with a professional-level job.
Step 1: Clear the Space
First, move everything you can out of the room. If it’s too heavy or awkward to move, like a big sofa, just slide it to the center of the room and throw a good, thick drop cloth over it. Not some flimsy plastic tarp that’ll tear the second you touch it. Go for the real stuff.
Take down your pictures, curtains, blinds, anything on the walls. You’ll thank yourself later when you’re not trying to cut in around that framed photo of your kid’s soccer team.
And don’t forget the little stuff: switch plates, outlet covers, and curtain rods. It’s not worth taping them and trying to paint around them. You will end up with a paint job that looks sloppy. Put the screws in a bag or a cup so you don’t lose them!
I had this one customer who swore she could just “paint around” her dining room table. Halfway through the job, her roller slipped, and she ended up with a big paint stripe right down one of the chair legs. She laughed it off, but let’s be real, it ruined her set. Don’t let that be you.
Bottom line: take the time to clear the space before painting. It makes the job easier, cleaner, and you won’t be kicking yourself later for cutting corners. You’ll thank me when you’ve got a nice, clean room to work in and nothing to worry about but getting that paint on the walls.
Step 2: Clean the Walls
Alright, so you’ve cleared the room. Now it’s time to clean the walls. I know, it sounds like overkill, but trust me, this step is crucial. Paint sticks best to a clean surface. If you skip this, you’re just asking for trouble down the line.
Start by dusting the walls. Grab a dry cloth, a duster, or even your vacuum with the brush attachment. You’d be surprised how much dust and grime can collect on walls, especially up near the corners. Once you’ve dusted, mix up a bucket of mild detergent and warm water, and give those walls a good wipe-down. A sponge or a rag will do just fine.
If you’re painting a kitchen, definitely don’t skip this step. Grease stains, fingerprints, and even invisible oils from cooking can make the paint refuse to stick. I’ve seen it happen. You may not see grease on the walls now, but once you get halfway through the painting, it’ll start to bubble and peel right off. Then you’ll need twice the paint and twice the time.
So take the extra time to clean those walls, and let them dry completely before you pick up a brush or roller. A little elbow grease now saves you a ton of hassle later.
Step 3: Patch and Sand Imperfections
Alright, now it’s time to tackle those wall imperfections. No wall is perfect. Dings, cracks, nail holes, you name it. If you want your paint job to look professional, you can’t skip this step. Trust me, paint can’t hide flaws. In fact, it tends to make them more obvious.
First, grab some spackle or filler and a putty knife. Got nail holes? Fill ’em in. Got cracks? Fill those too. You’re basically giving your wall a facelift.
Pro tip: If the damage is bigger, like a decent-sized dent, make sure you smooth it out in layers instead of trying to blob a ton of filler on all at once.
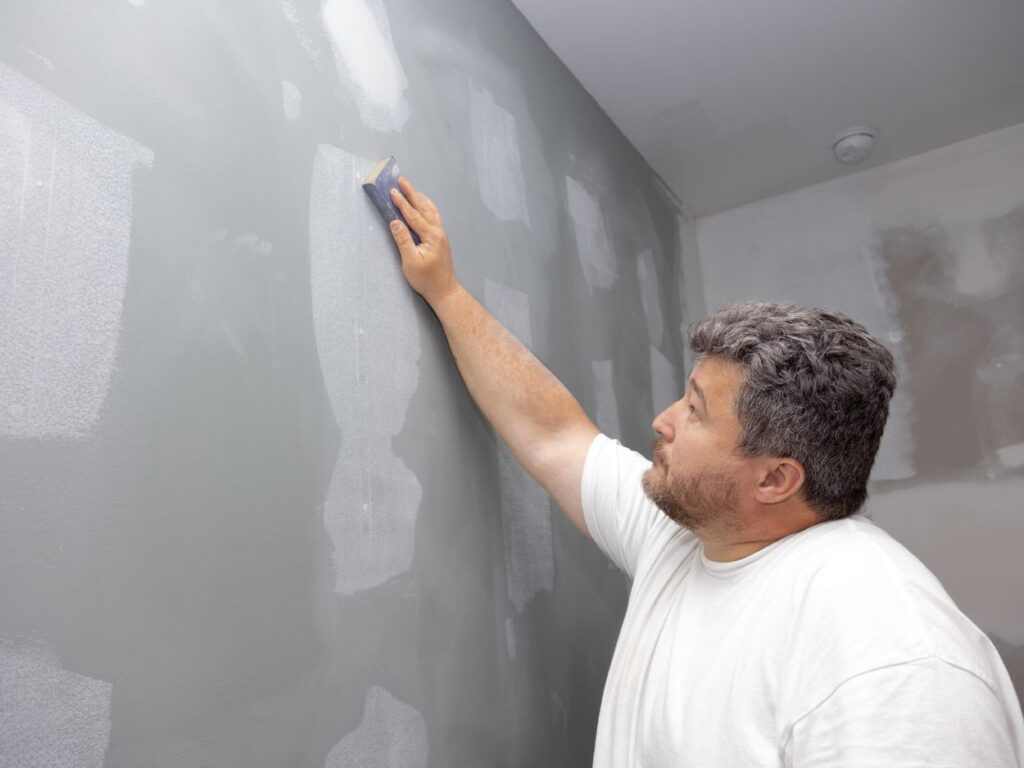
Once everything’s dry, it’s time to sand. Use a sanding block or fine-grit sandpaper, and go over all the patched areas until they’re flush with the wall. Don’t forget to hit any rough spots, too. Smooth walls are the secret sauce to a great paint job.
How Do You Patch and Sand If You Have Textured Walls?
If you’ve got textured walls, you’ll want to blend any patches into the existing texture. A smooth patch on a textured wall sticks out just as much as a dent. You can buy spray-on texture or use a sponge technique to mimic the texture pattern before painting.
Again, if the wall is textured, don’t sand the entire wall after pathing. Just sand the spots where you’ve patched.
If you’re working with a heavily textured wall (like knockdown or popcorn), focus more on cleaning and patch blending than sanding. But don’t skip prep. Texture won’t fix bad repairs!
So take your time and get those walls nice and smooth. Run your hand over the surface when you’re done—it should feel even, not like a gravel road. Your future self will thank you when the paint goes on like butter and looks flawless.
Step 4: Tape of Trim and Edges
You want clean, sharp lines, right? Then painter’s tape is your best friend. I know some people think they’ve got the steadiest hand on the planet, but trust me, even the pros use tape. It’s the difference between a paint job that looks polished and one that looks like a kindergartener did it.
First, invest in quality tape: Don’t grab the cheapest roll you find. Go for a good painter’s tape designed for your surface. Different tapes work better on walls, trim, or glass. One of my go-to multi-surface painter’s tapes is this one: ScotchBlue Sharp Lines Multi-Surface Painter’s Tape
Next, take your time. Lay the tape down carefully and press it firmly along the edges to stop any paint from sneaking underneath. If you don’t press it, paint WILL creep underneath and you’ll end up with those kindergarten lines we’re trying to avoid.
Finally, after you paint, remove it right. Pull the tape off while the paint is still slightly wet for the cleanest lines. If you wait too long, you might end up peeling chunks off your fresh paint job.
Step 5: Prime the Walls
If you think skipping primer will save you time, I’ve got bad news: it won’t. Primer is what makes a great paint job. It helps the paint stick better and stops old colors or stains from bleeding through. Skip this step and you’ll regret it later.
Also, primer can save you money in the long run! Primer is cheap and paint is expensive, so don’t waste expensive paint when you should be priming first.
Pick the Right Primer
If you’ve got stains, use a stain-blocking primer. For painting over a bold-colored wall, tell the paint store your final color and have them tine the primer towards it. You’ll probably need two coats of primer. And make sure you cover the walls evenly.
Let the primer dry completely before grabbing your roller. If you rush it, you’ll get patchy results.
One time, I had a homeowner who decided to skip priming their bright red accent wall. They figured beige paint would cover it just fine. Three coats later, the red was still peeking through and they were all out of paint and patience. I came in, slapped on a proper primer, and got it looking good with one coat of beige. Lesson learned: primer saves you time, money, and headaches in the long run.
Step 6: Test the Paint Color
Whatever looks good on a tiny swatch in the store can look completely different once it’s on your wall. Lighting, furniture, the size of your space, and any adjacent colors all change how a color comes across. Testing it out first can save you from a serious case of paint regret.
One way to test a color is to paint a test swatch. Choose a spot on the wall or use a sample board. Look at it in different lighting (morning, afternoon, and night.) Colors can shift dramatically under warm bulbs vs. natural sunlight. Ask yourself how it’ll match your furniture, flooring, and fixtures.
I had a client who insisted on a deep gray they saw at the store. It looked sleek and modern under the store’s bright lights. But once we painted a test swatch at home, the gray looked almost black under their warm evening lighting. Luckily, we caught it early and swapped to a lighter gray that worked perfectly.
Step 7: Get the Right Tools
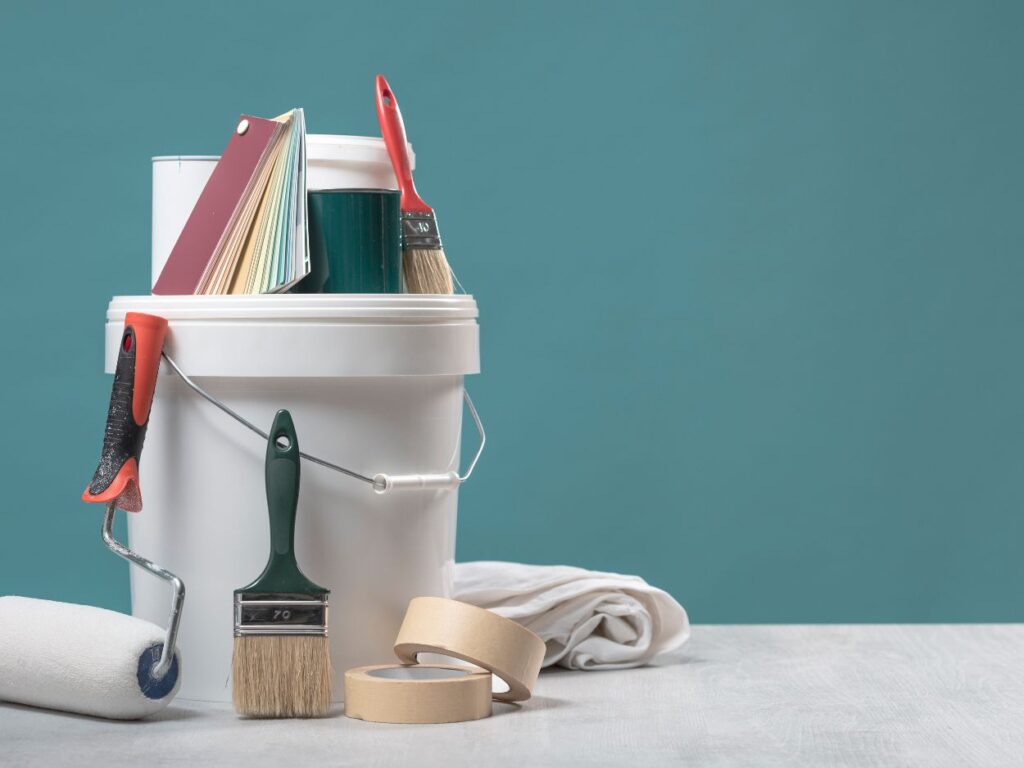
You can’t get the job done right without the right tools. Trust me, the quality of your brushes and rollers makes all the difference between a smooth finish and a streaky mess. Having everything ready beforehand saves time and frustration.
Stock up on all the items you’ll need for the paint job. Here are some of my favorite brands:
- Brushes
- Rollers and trays
- Drop cloths – I like canvas so you can reuse it for any future projets
Skip the bargain bin for tools. Keep a step ladder handy for those hard-to-reach spots. And have a damp cloth ready to wipe up any drips or mistakes.
Final Thoughts: Prep Your Walls for a Pro-Level Paint Job
Skimping on the prep time might seem like a way to save time, but it’s really the opposite. For a professional-grade paint job, you need to clear the space, clean, patch, tape, prime, test colors, and gather the right tools. Skipping these steps is how painting disasters happen.
Got a painting prep story of your own? Or maybe you’re unsure about something? Drop a comment below.